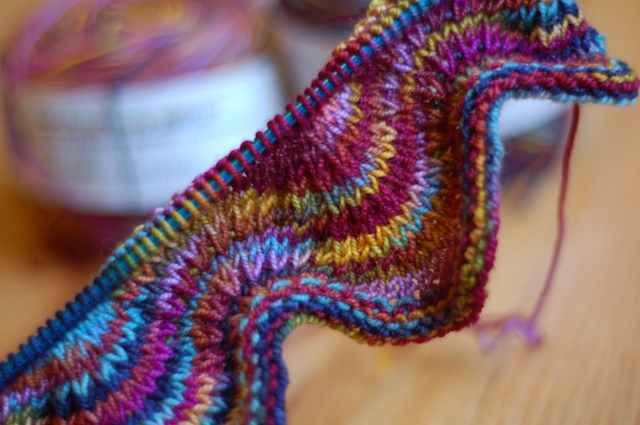
I have been starting my Christmas present happy fun time making. 🙂 I thought I would share some of my new favorite things: book bags!
I was going to ask if you wanted a tutorial, then when I was sitting down to stitch more together tonight I had to figure the mental puzzle out again on how to line the thing with out a hole or funny stitches. I thought I would write it all out, that way I can have a reference for next time. I made up this pattern myself, it’s so simple. The measurements I’ve been using are: outside (14 x 16) cut two, inside (13 3/4 x 15 3/4) cut two of fabric, two of interfacing (medium weight, or thicker if you prefer and make it easy on yourself, get iron on stuff) handle (6 x 25). You can change the measurements to your liking, simply make the inside/interfacing layer 1/4 inch smaller both ways. To change the width of the handle multiply the width you want by four to get your cut measurement. The handles are way easy. Fold and iron the fabric in half long-ways, then open up and fold into the center fold. Fold back into the center and iron again. Then just stitch really close to the edge on both sides for a nice finished handle.
To make the bag line the outside pieces with interfacing before stitching the right sides together. I stitched once with a half inch seam allowance, then trimmed that down to 1/4 inch and then did a zig-zag stitch all the way around. That might be over kill but I wanted the bags to be really sturdy since they are book bags. The liner is the same, just with out the interfacing. 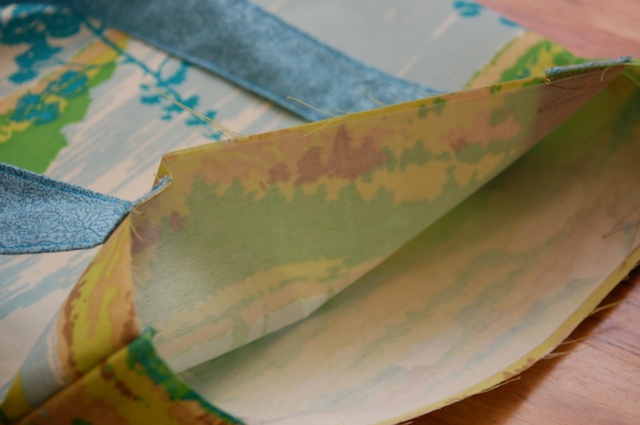
To attach the handles lay them out on the outside section of the bag with the right side facing out. Pin and stitch down really well, making sure not to stitch past 3/4" from the top of the bag: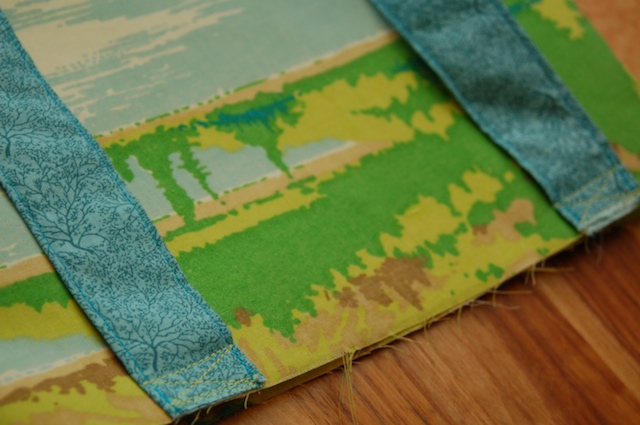
Next comes the part that always makes me second guess myself. It just seams so weird, but trust me it works. You want to put the outside of the bag inside the liner, and pin it like this: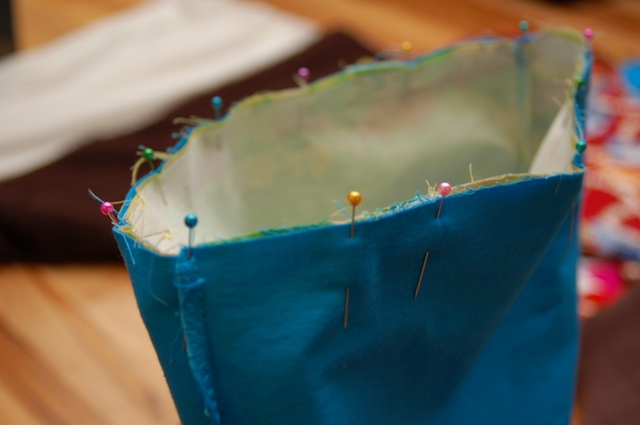
The right sides are facing each other. Then stitch around twice. Once right at the top while pulling out the pins, then again at 3/4". You have to leave a hole to pull the bag through the right way. I found it was easy to pull through when I doubled back on the edge of the opening (you know hit the reverse on your machine). That way the seam I had just made didn’t start pulling out. 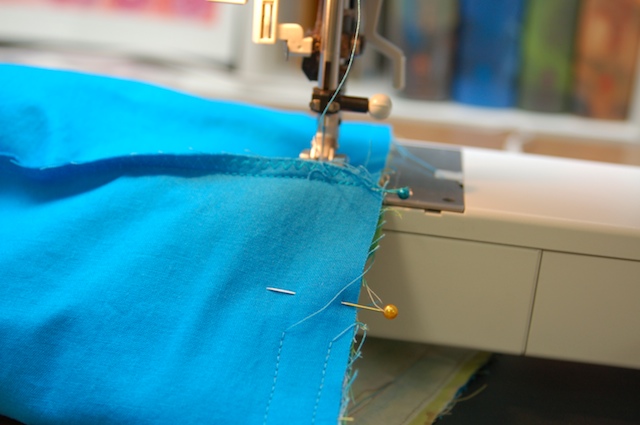
(this was the first one, note that I didn’t do that and the stitches started to rip when I yanked the back open).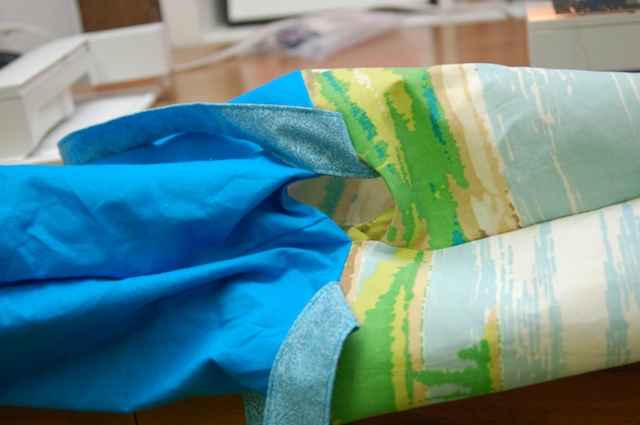
Then you just push the liner into the bag and I iron it all flat. Stitch very close to the edge:
And no one will be able to see where you didn’t stitch the two sides together the first time. I found that the easiest place to leave the hole was between the handles, fyi. 
And done. Don’t you love the fabric? Look familiar to anyone? 🙂 Let me know what you think of the pattern and if you have any questions. I’m making up a ton of these, so if you want different views/detail shots let me know! Oh and if you don’t have enough fabric for the front might I suggest piecing something together?