Life in Color โ€” a scrappy Log Cabin quilt block pieced in pink and green prints.
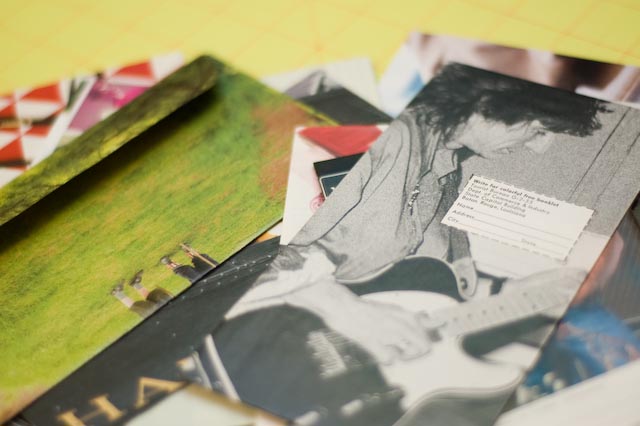
  • Yesterday Brenda received a little package of goodies I sent her when we did a small swap with each other. She posted about it over on her blog and made a point of mentioning the envelop I put a little note in. When I was cleaning up the craft studio I decided to get rid of a few littler drawer units and things that were holding my post card/stationary stash. These all got filed away in one of the big drawers of my dresser in here. I pulled out one of a stack of envelopes that I had made a while ago to send to Brenda, one of these:
    Envelopes2

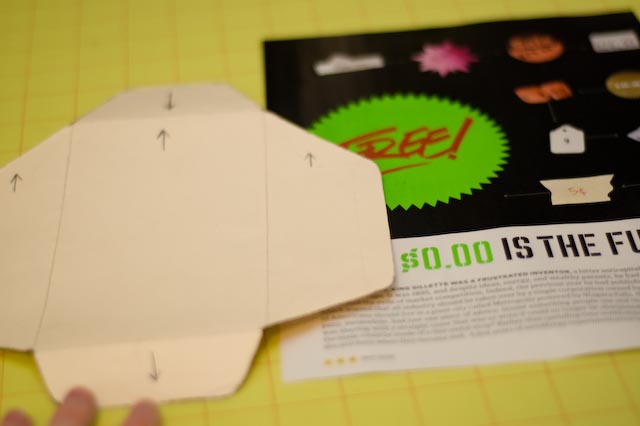
    These are the original templates I’ve been using for ten years. The arrows help show you what the finished envelope will look like, and the direction it will go.
    Envelopes3

    Choose a template and a page out of a magazine (the thicker the better, and mags like Martha Stewart that are extra wide and tall work even better for some shapes). Lay the template down adjusting so that the main image is on the front.
    Envelopes4

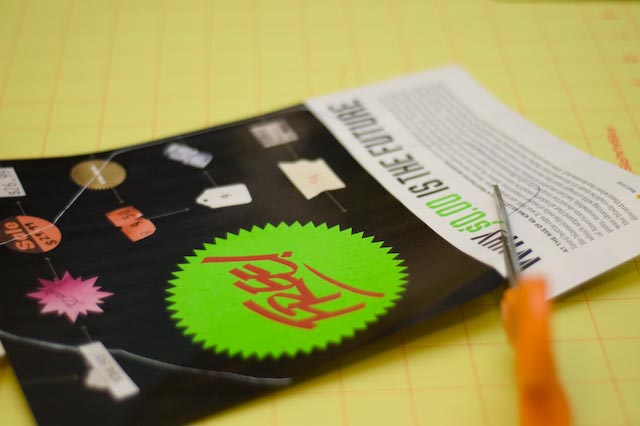
    Cut it out.
    Envelopes5

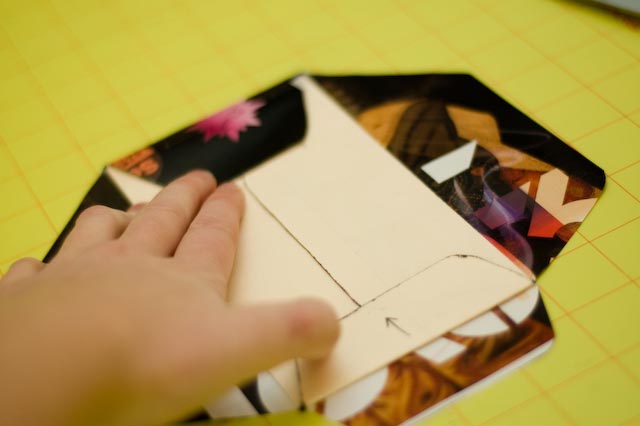
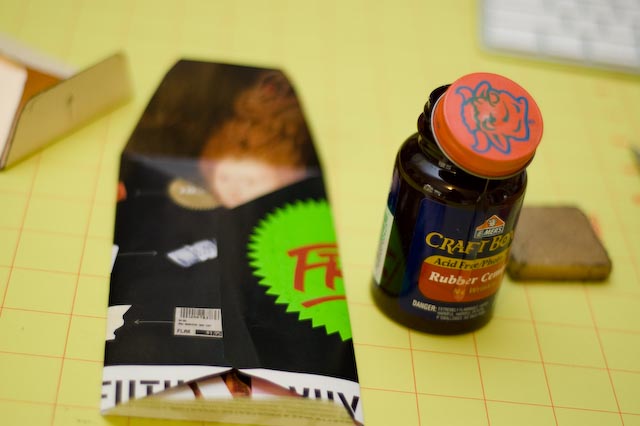
    Place the folded up template in the middle of the envelope and then press the edges around it so you will have folds to follow when you remove it.
    Envelopes6

    Get out the rubber cement baby. The only way to go for this project. Either paste it on and hold the pieces together, or (my method of choice) paint each side that is going to be attached and then when they are dry stick them together. It sounds wrong, but works great. See that little thing in the back? It’s a rubber cement eraser, it works like a dream after everything is dry to clean up around the edges.
    Envelopes7

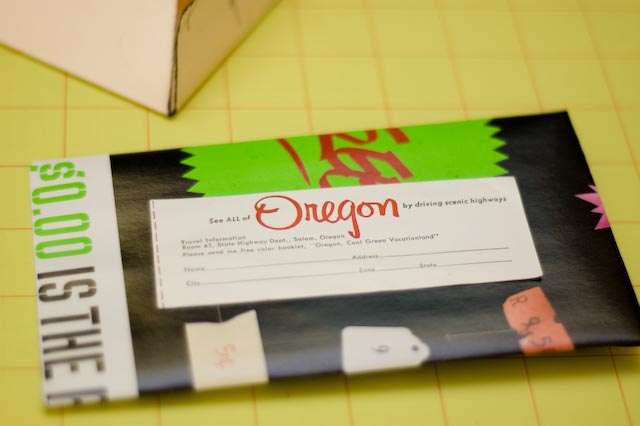
    Attach a fun label like this (an old issue of national geographic will yield dozens) or an Avery label, piece of cardstock, anything that will give you space to write. Note on this type of envelope: if you do decided to have the address run so that the width is shorter than the height you are subject to a small surcharge (at least in the USA). Check USPS.com for details.

    There you have it. A practically free project, and hey, you might even be able to sneak this project at work. ๐Ÿ™‚

    5 comments on Try this today!
  • 0301083

    On Saturday my mom, Sciarrino, her mom, and I took a class at our local quilt shop. Sciarrino and I saw the quilt in the window of the shop before Christmas and my mom was sweet enough to get me the class for one of my presents.
    Class1

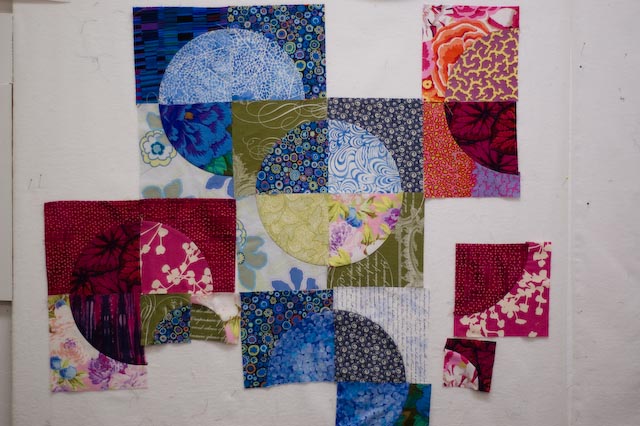
    The cutting took FOREVER!! I think it will be totally worth it. I loved using the design wall they had in the class, things stick up there so well:
    0301082

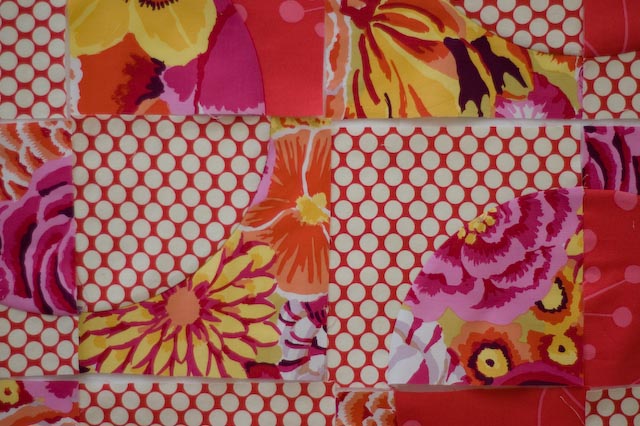
    Sciarrino’s progress (love the colors, I have that floral in mine as well, it’s cool how different fabrics can look when paired with others). I decided I had to have a design wall as well. I saved the big poster boards that we used to hold pictures at the wedding and covered one with the plain flannel yesterday (just stapled it to the back)
    0304084

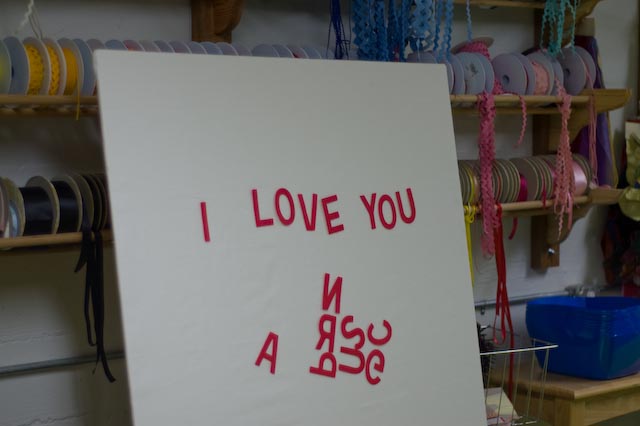
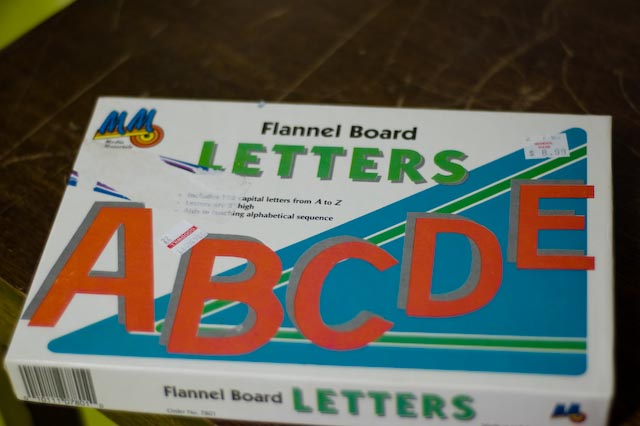
    Oh the letters, found those last night at goodwill:
    0304083

    Two bucks, had to get it. It reminds me of these toys I had when I was little, little boards with printed flannel, set up like a house, or a girl, and then shapes that could stick on shaped like furniture or clothes. It’s a vague memory but I think it was something like that.
    0304082

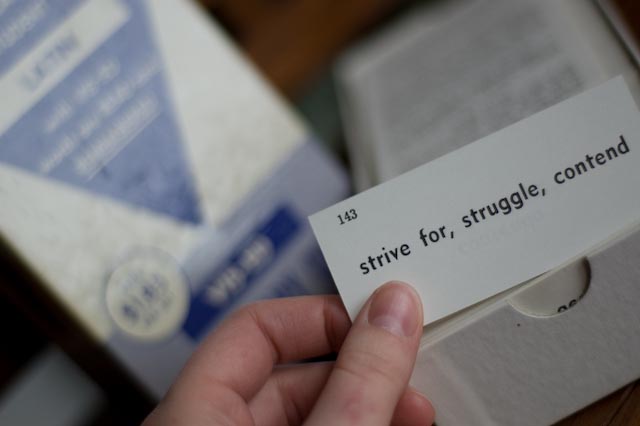
    When I was looking at the games section at Goodwill I also picked up these Latin learning cards. I like to pretend I’ll use the other side and teach myself Latin (I used to love to memorize Greek and Latin root words), but I’ll probably just use the English side for scrapbooking.

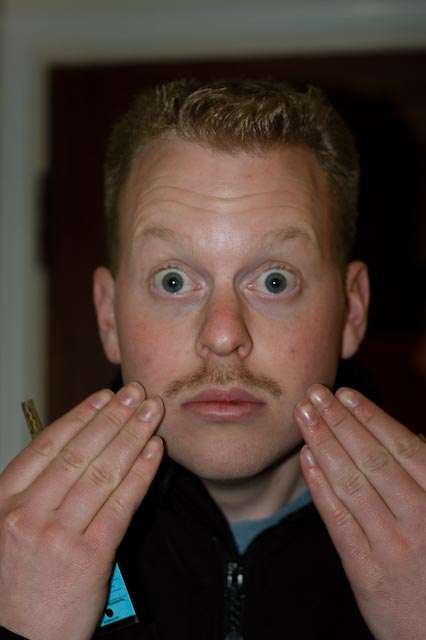
    Oh and did you know it’s mustache March?
    0301086
    ew mustacheses (no idea how to spell the plural, obviously), yuck! Don’t worry my brother shaved this porn star classic after one day.

    9 comments on Circle Time
  • Wouldn’t you know it a clean studio = more creative energy! While listening to the first audio message for my big picture scrapbooking class I worked on these two layouts:
    Layout1
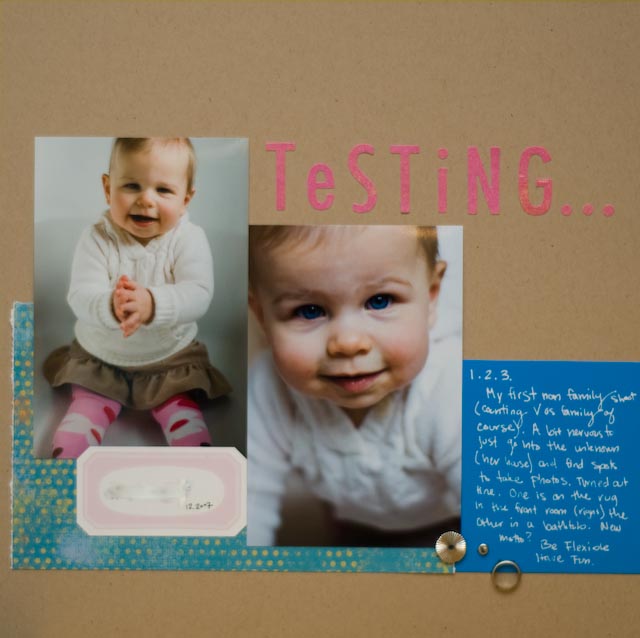
    Remember I take pictures of my layouts instead of scranning (stitching a 12×12, hate it), so they may look a little funky sometimes (this is me assuring you that the above is indeed straight). Using my favorite of all time Quickutz, Roxy. Just got an email last night, and they have re-released it!!! I got it when you bought all the sections differently (lowercase, uppercase, lowercase shadow, etc). So I’m trying hard not to be an I want, I want, I want with that.
    Layouts1

    Just a few simple layouts, and it was easy enough to focus on the audio and the layouts. I should get to organizing my photos. One thing she said was to track down all my photos. I was thinking, no, I’m sure they are just in these few boxes (the pre-digital ones). I went downstairs just to double check, and yep, I do have photos everywhere. Hmm…. This could be a process. But not for today, I’m off to a quilting class with my mom, Sciarrino and her mom (fun, fun!).

    p.s. I’ve decided at this rate of patterned paper usage I will have enough to last me until approximately 2092.

    2 comments on Girly Layouts

archives

2 page layouts 8.5×11 layouts 12×12 layouts Alaska birthday birthday party brads canning Carmen Chloe crew girls dining room DIY elimination communication fair fall food front yard hair Halloween iPhone misting Montessori newborn nighttime night time oregon oregon coast oregon state fair organization painting painting with kids party portland punches ribbon salem Sciarrino scrapbooking sewing on scrapbooking Silhouette sleep toddler Tuesday tulips