
These pictures have been sitting around in my to share file for quite a while. I found the idea for ombré blocks via Pinterest. How easy, I thought! I loved the idea of using them to teach color gradations, in the same manner as Montessori color tablets (box three). I thought they would make great fun, but also somewhat educational gifts. And they are an open ended toy which makes them great for lots of imaginative play across a range of ages (I recommend ages 2.5-6 as the sweet spot).

I started with plain square blocks. I found mine at Michael’s and Jo-Anns. Jo-Ann’s has packs of cubes; at Michael’s I was able to buy them by the cube. This was nice because I could pick out the nicer blocks, the smoothest ones with out defects. Later I would an even bigger selection from Craft Parts and ordered some other sizes. I gave the blocks a quick wipe down (after peeling off stickers some required a little too gone as well) and base coat of white acrylic.
I wanted each hue on the block to go from light to dark, but I decided to mainly do only tints (adding white) and no shades (adding black). I made an exception on yellow because I just couldn’t get a full nine different tints. At first I tried to make each block a range of tints in itself and embarrassingly it took me a few coats to realize that the blocks have six sides and I needed room for nine colors. What can I say, it was late. Once I got that hiccup resolved I laid them out and got to work one color at a time.

I found it was easiest to start with the less intense colors first so I could touch up where the edges meet with the more saturated hues last. I made these extra difficult by mixing up which block had the lightest hue. One block did not have both the lightest blue and lightest yellow, for example. That way a child won’t automatically sort the blocks based on the “easiest” color (light to dark blue I think). I’m not quite sure that was a good move. I think having one block be lightest all the way around might have given the child a better control of error.
Some of these color gradations are quite a challenge. I was just going to use cheap craft acrylic paint on these but I realized that the pigment in them is just so inferior and there is so much filler that it doesn’t work for all colors. I found it necessary to break out, at a minimum, student grade acrylics. And in the case of yellow I used a full bodied Golden Acrylic (my brand of choice through art school). I might even add a tiny touch of white to even the darkest color block in a set, as that helps the color be less transparent.
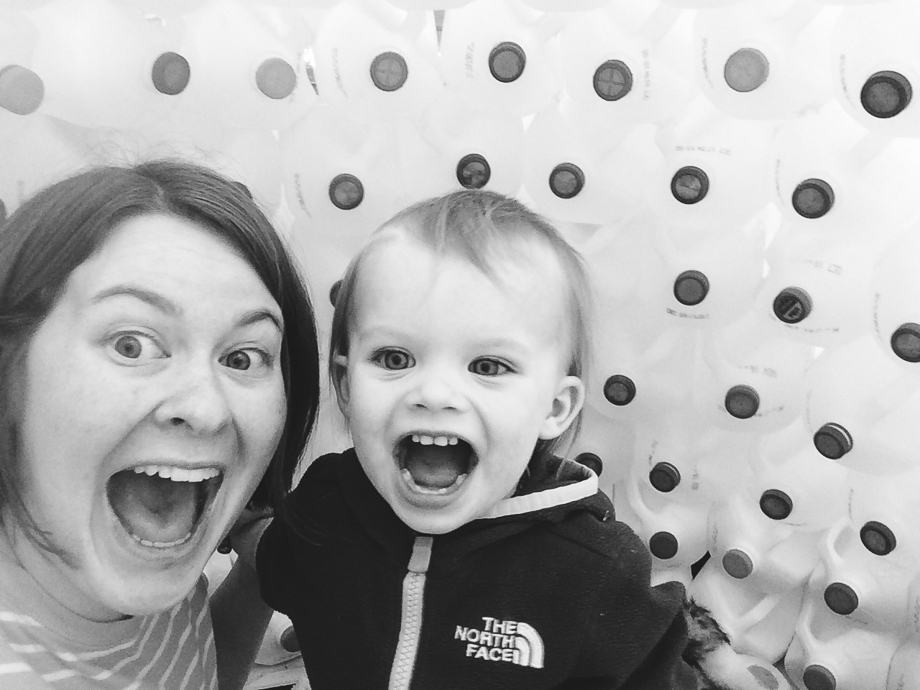
Tuesday has finally taken an interest in these (I made them a year and half ago, and gave some sets out as holiday gifts in 2012). We’ve been using them just in basic light to dark organization. She has two sets, so she can also use them to match. Lots of good vocabulary: tints, light, dark, darker, darkest, etc. She found it very interesting that colors that looked very different straight out of the tube could look so similar once a lot of white was added to them.
You could do a similar project with kids, but you’d have to let your OCD tendencies out the window (if you have them). It takes a bit of patience to get corners neat, and not leave fingerprints. I sprayed them all with a matte sealer when I was done.

Celebrating crafts, kids and the everyday through photographs.
-
2 comments on Ombré blocks: a kid toy you won’t be able to keep your hands off of
-
Joining in on Amanda’s this moment project. A moment from the last week. A slice of life. -
Once again I took a scrapbook on a trip. The scrapbook on the road mini I did when I went to Alsaka in 2011 was one of my favorites. Another time I went to Alaska (our good friends live there) I decided to take Project Life with me (here is some info on Project Life – a pocket style scrapbook system). I was new to it and thought it would be easiest just to bring it instead of having a new project (here is what it looked like when I was done). I’m still doing Project Life, and I have lots of thoughts on it to share soon, but I didn’t want to bring it with me. There are so many stories and moments on vacation that are different than home. I really wanted to remember as much as possible. Our children are so young, they will likely only remember this trip through our photos and my scrapbooking (side note: there was a discussion about this on the Paperclipping Roundtable podcast that I found really interesting).
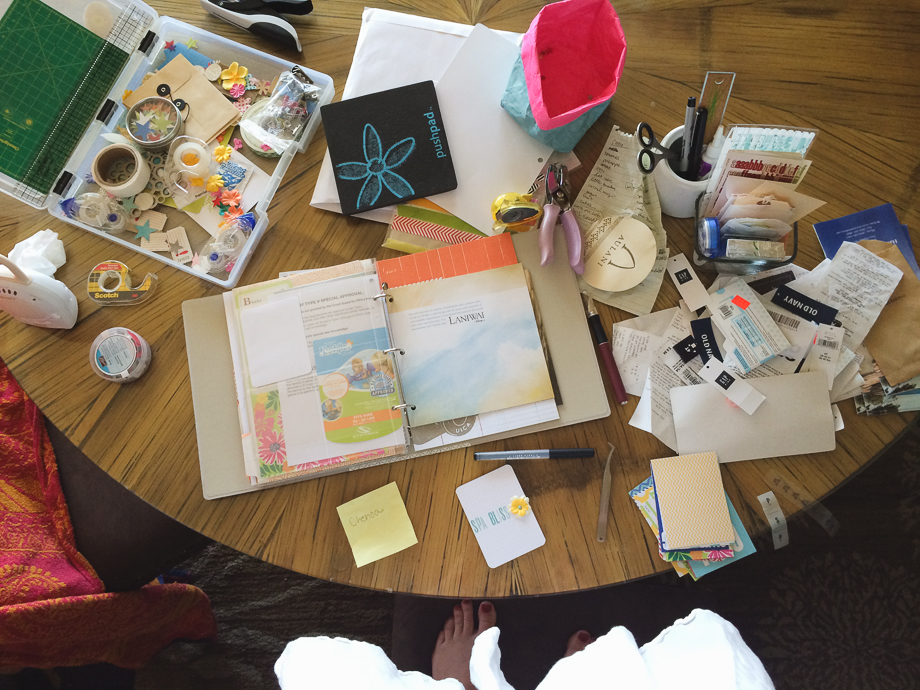
I ended up bringing my standard kit, with just a few embellishments, and the tools I consider must haves. I used a Basic Grey album and stuck in page protectors from Simple Stories (in the video I said something else, but I checked and they are Simple Stories). I had to punch extra holes, but that was fine with me. I wrote up stories as the time went, and sorted through ephemera only keeping what I used in the mini album. This is great because sometimes when I travel I bring a lot home not knowing what I’ll use. One thing I wish I would have brought more of were 3×4 cards. I thought the handful I brought were enough, and I did come home with extras, but I could have used more plain or grid cards. I ended up buying a 6×6 paper pad at Target so I had more paper to work with.
I wasn’t able to print photos (no computer to upload photos to), so here is a short video showing what I did get done. I’m excited to fill up the book with pictures and some more thoughts about the trip now that we are home. I certainly prefer to scrapbook with photos, but this was still a very fun creative release while we were gone. I usually worked on it in 30 minute chunks here and there, mostly during join rest/nap time.
hawaiilabumplain small from Amber Garrison on Vimeo.


recent posts
archives
2 page layouts 8.5×11 layouts 12×12 layouts Alaska birthday birthday party brads canning Carmen Chloe crew girls dining room DIY elimination communication fair fall food front yard hair Halloween iPhone misting Montessori newborn nighttime night time oregon oregon coast oregon state fair organization painting painting with kids party portland punches ribbon salem Sciarrino scrapbooking sewing on scrapbooking Silhouette sleep toddler Tuesday tulips