My dad lives in the desert in the winter, and before he left this year he decided he wanted to go to the coast. Lucky for the girls and I he decided we should come on his impromptu day trip… OK!

First we went to a fantastic restaurant, on the “banks” of the world’s shortest river: Kyllo’s. Yummy, yummy, yummy. And the girls loved sitting looking right over to the beach.

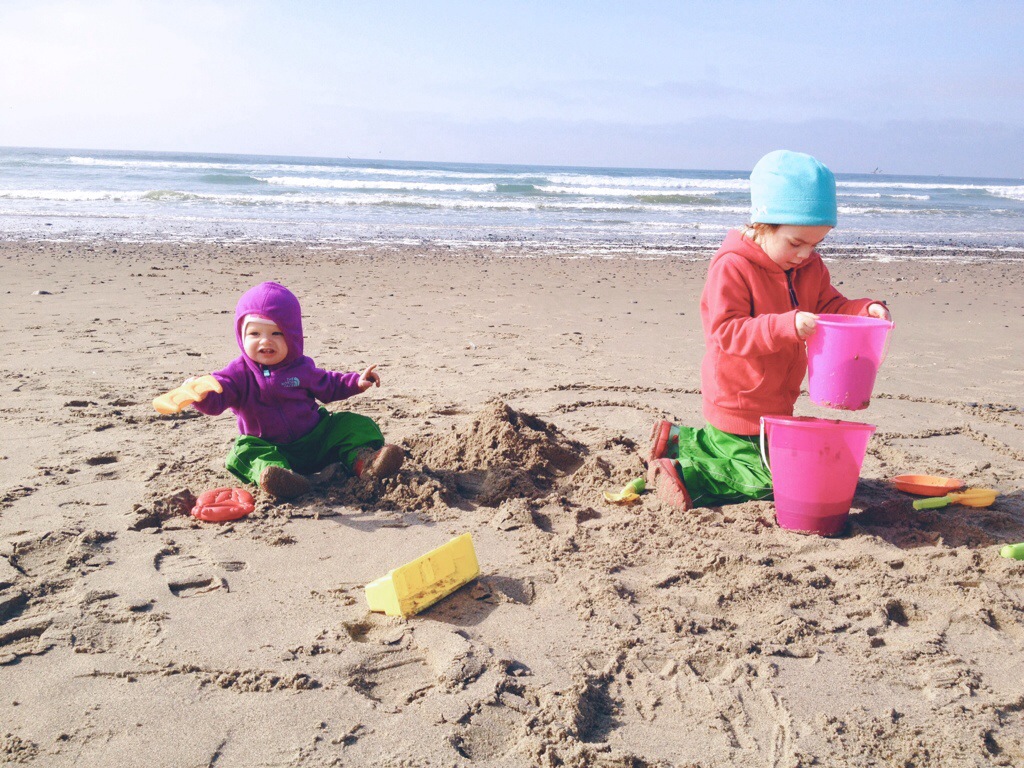
Bennet wasn’t 100% sure about the beach. Check out these adorable mini boots Tuesday fished out of a bin at the used kids store. I couldn’t find anything small enough for miss shoe size 6-9 months. She wears a size three which is so tiny. I am in love with these boots! They have no manufacture on them so I can’t get more. And she’s starting to grow out of them, but she still brings them over for me to put on her.

Tuesday could play on the beach in just about anything. She loves playing in the sand. My dad was a good sport too, helping her make different things, drawing paths and cows for her to milk.

Nice cow dad 🙂 (Tuesday got this idea for an sweet little book called Sand Cake that we love).

I got to sit on a blanket and watch my two lovelies play. They really do play together now, it’s amazing and I am loving it.

Such a great day. Thankful that we got to experience this before the wet and gloomy weather sets in!

Celebrating crafts, kids and the everyday through photographs.
-
3 comments on Fall at the Oregon Coast
-
So this weekend I got an electric car. But that’s not what this story is about.
This evening as I was all set to do my last big batch of canning (really, truly, I mean it this time!) Bj was being helpful and took a basket of rags down to the basement to put with the dirty clothes and things. I heard him groan and he told me the washer had over flowed. I came downstairs and there was an inch of water around that area, and it had spread under the dividing wall and into the pretty side of our basement. Remember when we did all that super annoying basement work, laid down dimpled plastic, and had to clean all those FLOR tiles? Well they totally saved our bacon. We started cleaning up thinking we were dealing with washer water. Turns out it wasn’t washer water. It was the other kind of water. The dirty kind. Ew.
My brother was called (and woken up because of course it was late). He and Kat brought over a heater and dehumidifier and were basically wonderful. He took a bite of Tuesday’s jam and toast (because of course she was up) and loved it so I gave him a jar of his own jam in return for his kindness. It was the least I could do! How handy is a pantry full of canned goods? Very! So once we realized we could not use any water or flush anything I knocked on a neighbor’s door. They let us use their bathroom and said we could whenever we wanted.
After we got things sorted out as best we could tonight I grabbed all our toothbrushes and we headed back over to the neighbor’s. I heard a sort of whirring sound and saw headlights. Then I heard a car beep. I didn’t have my glasses on, but I asked Bj, “Wait, was that an electric car?” He said yes, “Actually, I think that’s your car.” He was right. I have never even seen a Leaf around town so it was very strange to see one pull up outside my house at eleven o’clock at night. I started to walk over and say hello to the driver, you know, I was going to high five them or whatever. And it was my other neighbor (for reference he drives a gas guzzling muscle car usually).
I was all, “hey, what’s up?” Turns out he had just driven from a nearby town because he went with his daughter to get the car, then lost his keys and had to drive home and get his spare set. Once he got here the car said it had 17 miles left of charge (it probably had less because they are more like “guess o meters” – seriously that’s what people call it). He still had to drive 45 miles. So he wasn’t going to make it back to his daughters and he had no idea how or where to charge. I pulled up the PlugShare app on my phone and showed him where the nearest quick charge is (charges the car in 20-30 minutes) plus a few other things about the car. How the dealership they went to let them leave without knowing how to charge and how long it would take is a mystery, but good thing we happened to be outside.
So yes, our basement had water in it. We went outside to use a neighbor’s bathroom and my other neighbor just so happened to pull up in the same electric car we had just bought three days ago… at 11 o’clock at night. Strange times over here for sure. -
Joining in on Amanda’s this moment project. A moment from the last week. A slice of life.

recent posts
helpful info
archives
2 page layouts 8.5×11 layouts 12×12 layouts Alaska birthday birthday party brads canning Carmen Chloe crew girls dining room DIY elimination communication fair fall food front yard hair Halloween iPhone misting Montessori newborn nighttime night time oregon oregon coast oregon state fair organization painting painting with kids party portland punches ribbon salem Sciarrino scrapbooking sewing on scrapbooking Silhouette sleep toddler Tuesday tulips