
Ok, yes, there are a million snack bag tutorials out there. But after I borrowed one of my friend’s I knew I had to reverse engineer it and make some up myself. I haven’t seen a pattern quite like this out there, so I thought I’d post a little tutorial. I’m not going to lie; once I finally figured out the construction of this thing I felt like a FREAKING GENIUS and may have shoved snack bags in everyones faces. So much so that when I started saying, “I have something to show you…” my crafty friends would say, “um, it’s not that snack bag is it?” Obviously I’ve exhausted everyone around here with them, so now it’s time to show all of you!
The bags are about 6.5 x 7 inches finished (and closed). To start you need two pieces of fabric both measuring 8 x 16.5 inches. One piece is going to be a fun quilting cotton and the other waterproof fabric. I know the easiest of that stuff to find is PUL, commonly used in cloth diapers covers, but I found that did not work great. For being waterproof yes, but it made the bags kind of poofy and made the one step (ironing the edge over) very difficult. I found some random waterproof fabric at Fabric Depot in their outdoor sale area. Of course this means it wasn’t marked, but basically one side is plastic lined and waterproof, and the other is a little shimmery. At two bucks a yard I decided to give it a try and it worked great. I know the Rain Shed in Corvallis also has lots of waterproof fabric (and they sell online).
Also a 6.5 inch piece of 5/8 inch Velcro. And a fun bit of ribbon for the tab (I love jacquards for this).

One edge of each fabric needs to be ironed under, about 3/8 an inch (I watched my temp here with the plastic lined fabric). The most important thing is that it is the same amount. For this project the non-plastic side of the waterproof material is the “right” side. It should feel more fabric like, that is the side your food will touch, not the actual plastic lining on the “wrong” side.

Next sew on the Velcro. On the print sew the rough/grippy side of the velcro about 1 1/4 inches down from the fold you just ironed. On the waterproof fabric sew the soft side of the Velcro about 3/8 inch from the non-folded edge.

Next is the crazy part. They way you sew the layers together is one of those magic things. Fold each layer so that the right sides are touching (print right side to print right side and waterproof right side to waterproof right side). The ironed folds must line up and the soft velcro must stick up (about an inch and a half).

I hope this picture makes it a little more clear.

If you want a ribbon tab add it now before you pin!

Pin all the way around the three raw edges. This is where you will sew, about 3/8″ in from the edge. I double back at the start and stop. So in this picture you start at the bottom left and sew all the way up and over the top, and back down the other side. Snip the corners and turn inside out.
I forgot to take a picture of the top stitching you’ll need to do over the folded edges you ironed earlier. It will be completely obvious where this needs to happen when you flip the bag around.

Finished bag! The main difference (that I really like) between this bag and other snack bag tutorials is that the Velcro is hidden, and not just at the top of the bag (if you like that style here is a good tutorial for that type). Also using a thin waterproof material works well here since it gets folded over and is the top of the bag.

(opened so you can see the place you need to top stitch)
Easy to care for too. Simply turn inside out to wash. You can dry these, but it really depends on your waterproof material, so be careful on temperature. Otherwise just hang to dry. If they are just full of crumbs inside I simply rinse/wipe them out when I’m doing dishes.

And yes, I have made a lot of these bags. I’m thinking filled with homemade crackers for Christmas presents? Let’s just say if you know me, chances are you’re getting one.
-
9 comments on Snack bag tutorial
-
Did you think I meant a little baby? Hehehe, nope. But I have been doing a lot of pre-baby prep that has nothing to do with baby. Like stock piling cards. I made a bunch of my new go-to thank you cards, and decided to whip up some birthday cards too. My computer is, sadly, in pieces, so I’m typing this up on my little presentation laptop I use with clients and I’m not too sure of colors so if things look wacky, well, you’ve been warned.
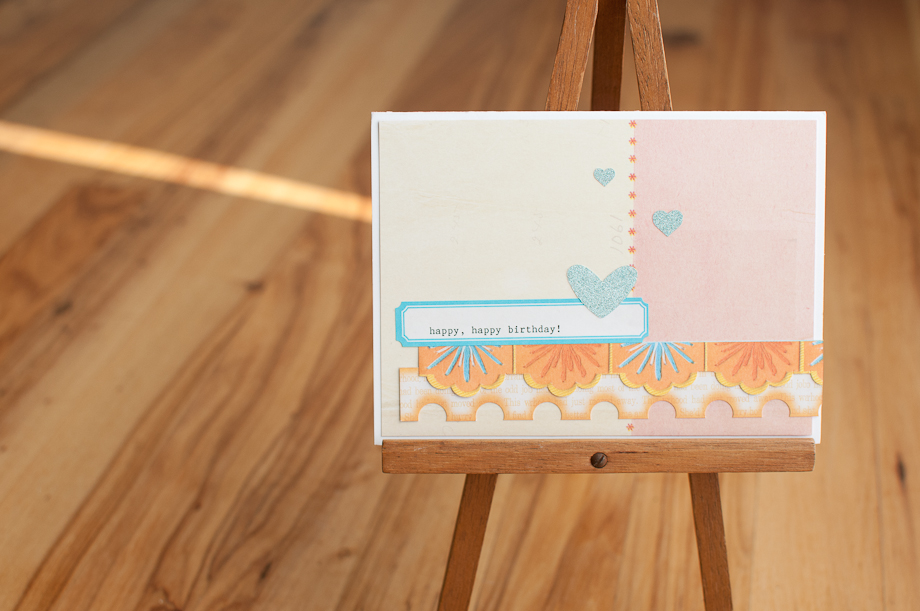
I am loving this glitter paper from American Crafts, called POW! It is super thin and easy to punch and Tuesday and I totally fought over this blue piece when we were scrapbooking together. I caved and gave her a chunk of it because it doesn’t shed glitter at all and is actually thin enough for her to cut (she has a mini trimmer in her “stash” and a pair of safety scissors). Did I mention that I gave up a drawer in my craft room so she could have her own stash. I am the nicest mom EVER.
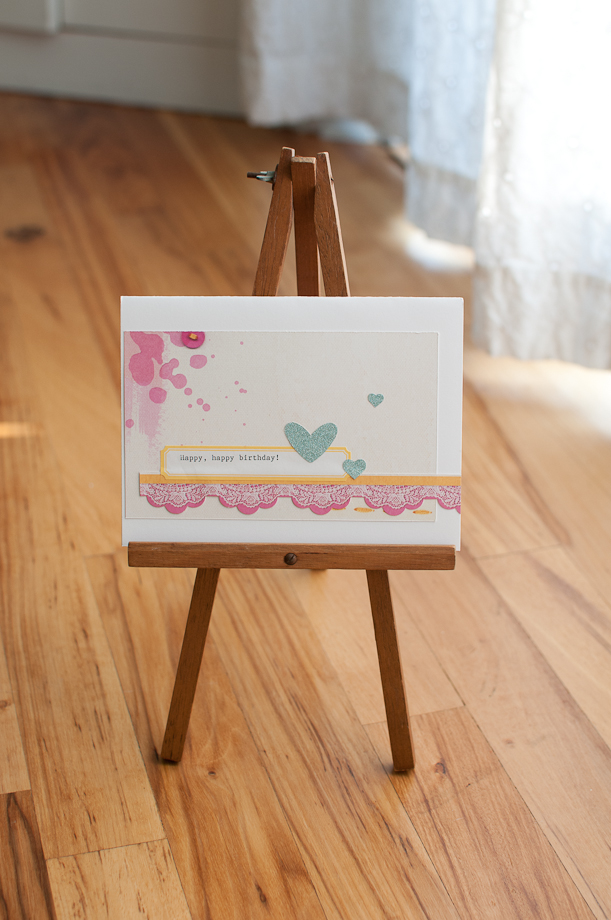
Also I found this easel in Grandpa’s stuff when we were getting ready for the garage sale. It’s so cute and little and I totally love it. I wonder why he had it?
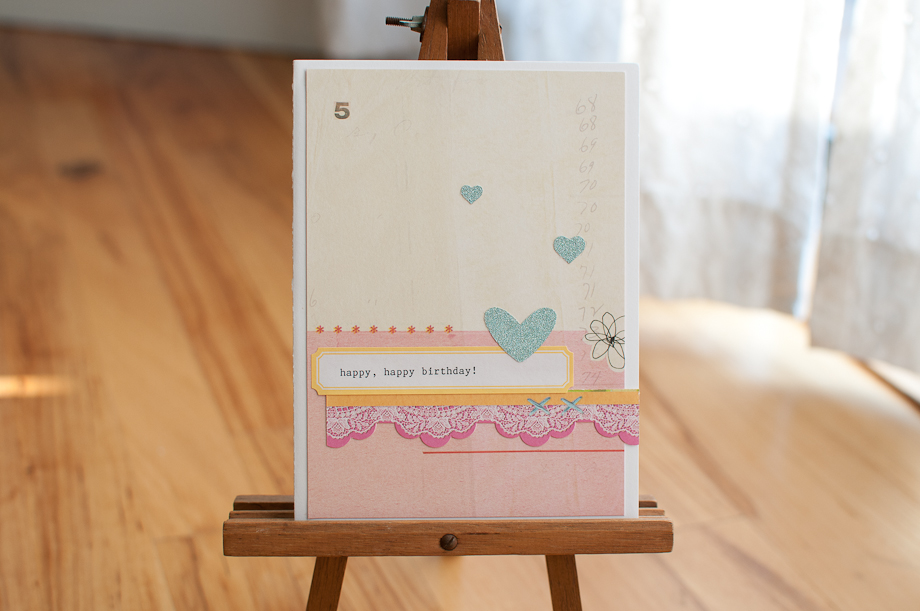
The labels are from Martha’s line at Staples (thanks Sarah!), which I ran through my typewriter. My desk looks totally old school with a massive typewriter sitting there instead of a computer. I am actually getting a lot done with out it though. Like some actual layouts (these were the scraps). I do wish I had it to get caught up on Project Life though. I’m afraid if I don’t before the baby I am in trouble.
Do you stock pile cards, or other handmade things? I love doing this because it’s so much easier to get things done all at once rather than pulling out all your supplies for one card. -
I thought it would be nice to make something up specifically for this baby. I have lots of wonderful handmade things that the baby will use, but almost all are hand me downs from Tuesday’s time as a little one. I don’t think there is anything wrong with that at all, and it has made prep much easier, but I figured something special just for this summer baby would be wonderful.
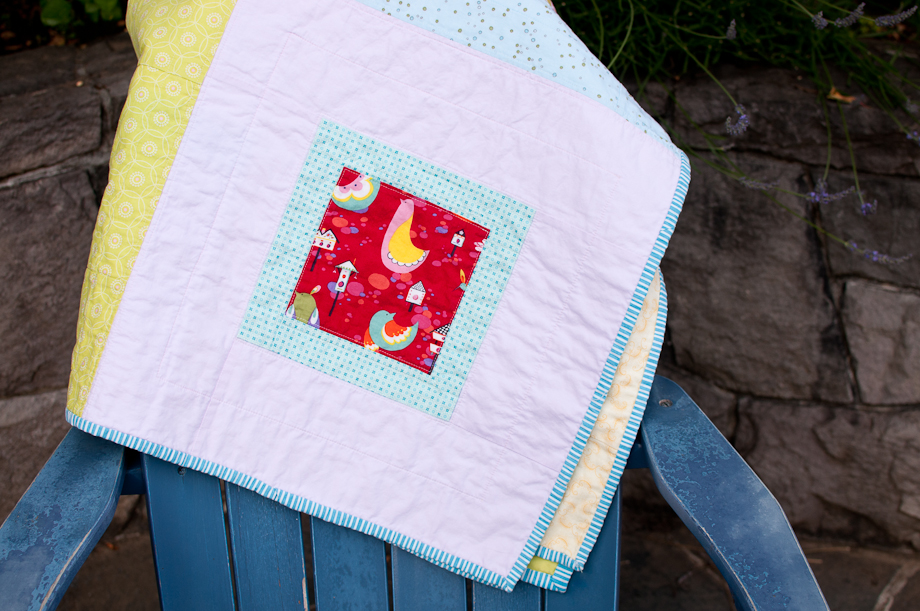
I was VERY inspired by this quilt from Blue Elephant Stitches. In fact she has an Etsy shop and I thought about just ordering one from her, but my stash is seriously too big to justify that (however if you’re not a quilter and want an adorable heirloom check out her site!). So I decided on the same type of big log cabin blocks with fabric from my stash.
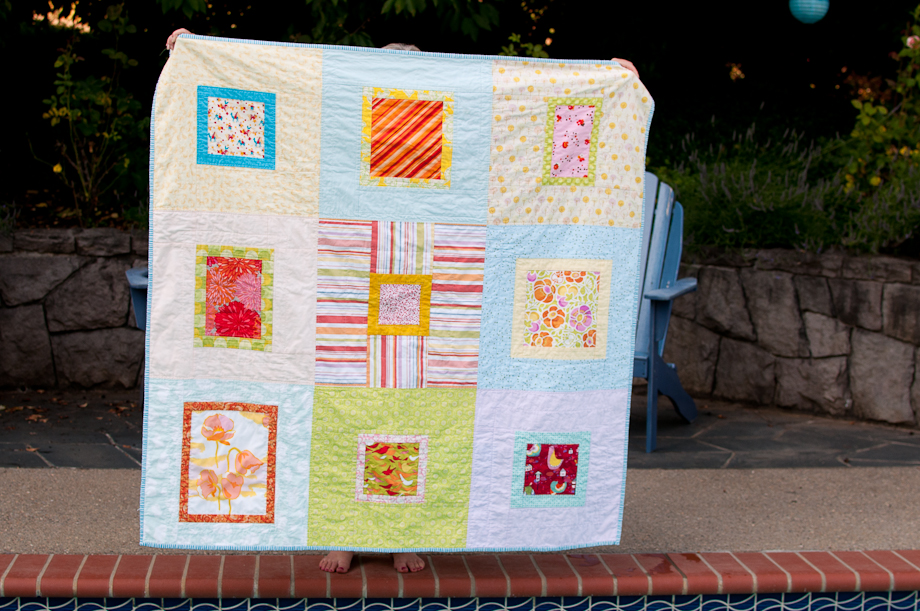
I even used a little bit of old clothing and some vintage sheets. I love how it turned out (it’s about 55 inches square). I loved the rainbow of fabrics so much I decided to piece them in color order down the back.
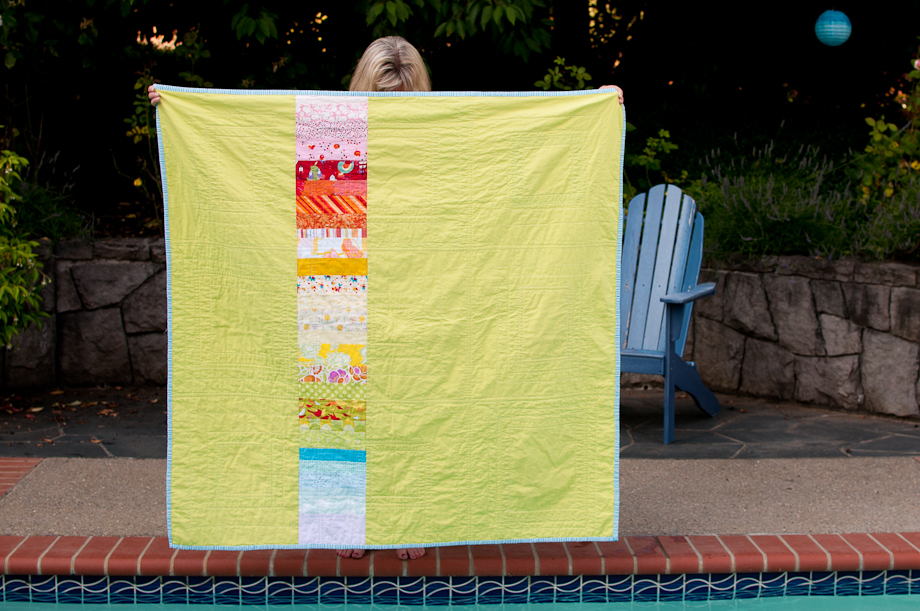
Here is a little better view of them:
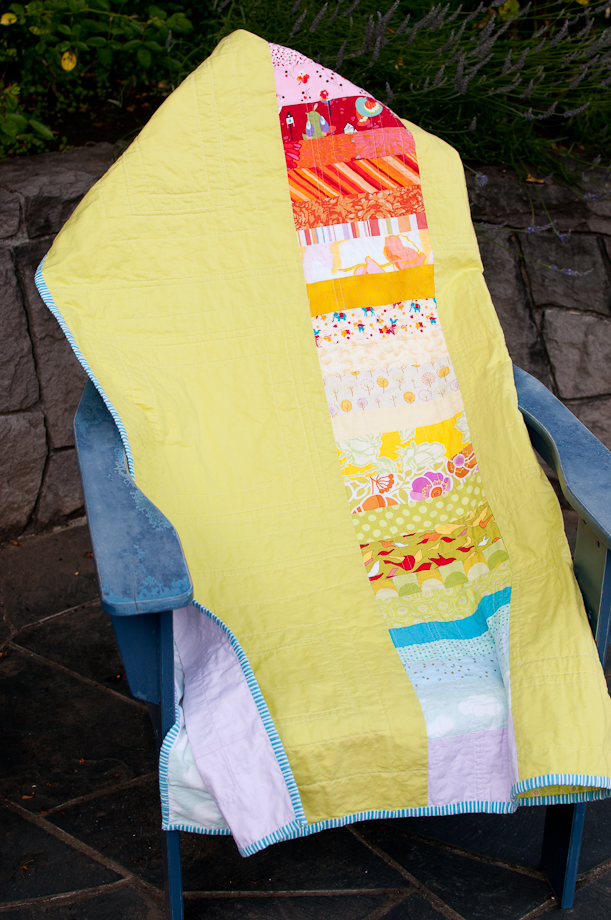
It’s a little hard to tell how I quilted it from these pictures, but I just did simple squares of various sizes around each block. I also did a big grid going through the edges of the nine blocks.
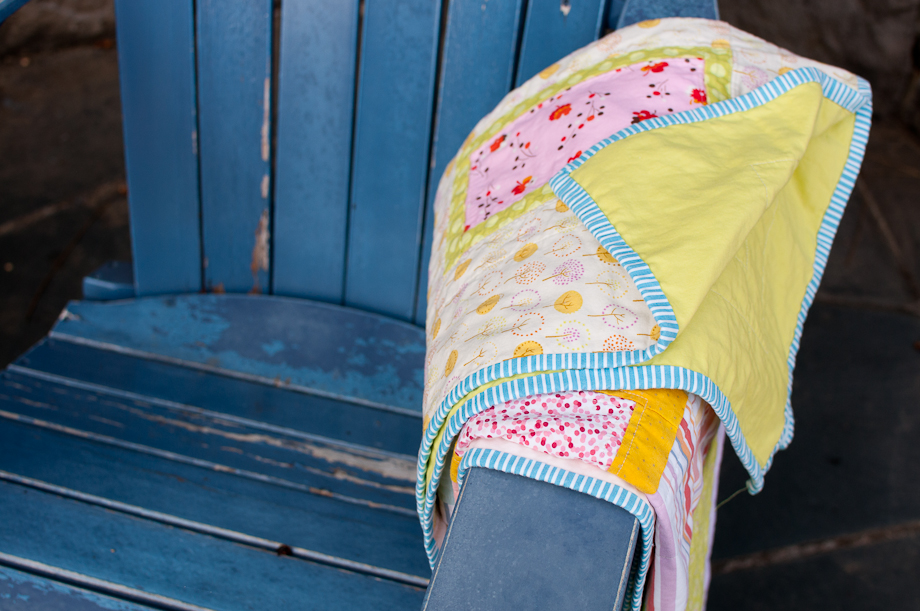
The one thing I did have to buy was binding fabric. I had my heart set on stripes and I just couldn’t find anything that was right. I tried ordering a few different multi-colored stripes on line, but nothing worked. Sciarrino picked me up a blue stripe at Fabric Depot, but it wasn’t quite right. I finally found this when I went to A Common Thread. I wanted to point that out because I had no idea they had such cool fabric. It’s not the biggest place, but a well curated collection I would say.
I want to do a quilt like this again. It came together super quickly and I love using the center of the blocks to show off prints or fussy cut something. Also I used plain white flannel as the batting. Not only is the quilt lightweight, but I didn’t even baste it because the flannel is so grippy to the fabric.
Ah and this reminds me, thank you for the sewing machine advice. I have my heart set on a Bernina now. I’m looking for an older used one, at least to have as a back up, and am going to wait to see what they come out with later this summer (and how much sewing time I get in with two kids!) to make a decision on something bigger for quilting specifically. I used my mom’s Pfaff to quilt this and it went pretty well.
recent posts
helpful info
archives
2 page layouts 8.5×11 layouts 12×12 layouts Alaska birthday birthday party brads canning Carmen Chloe crew girls dining room DIY elimination communication fair fall food front yard hair Halloween iPhone misting Montessori newborn nighttime night time oregon oregon coast oregon state fair organization painting painting with kids party portland punches ribbon salem Sciarrino scrapbooking sewing on scrapbooking Silhouette sleep toddler Tuesday tulips