Tuesday had a blast making a bunch of non toxic all purpose cleaner a few days ago. I think getting to use SHARPIE (!!!) on the labels might have been her favorite part.

I swear I shared this at some point on this blog, but searching comes up with zero. And I was asked for my favorite recipes and tips so here you go!

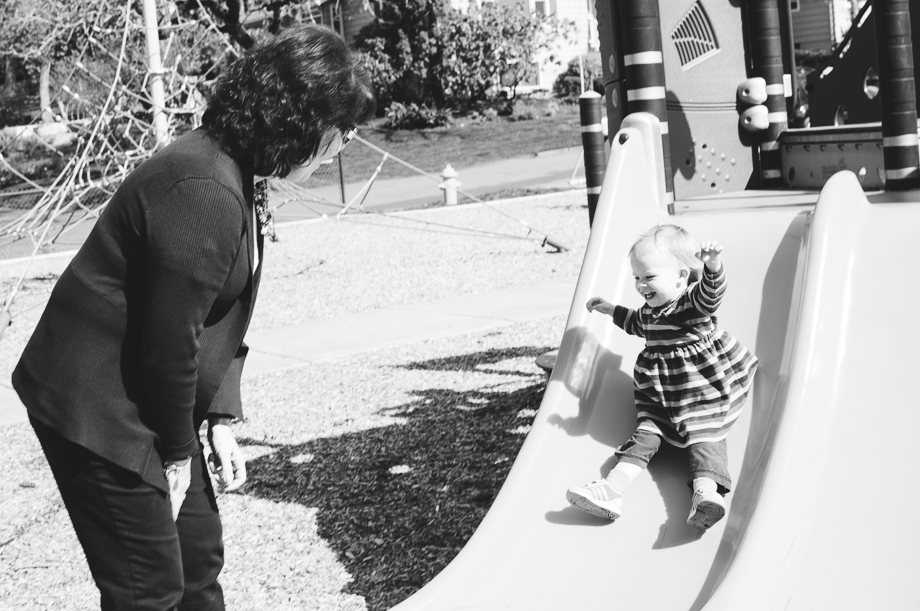
(Tuesday October 2012)
I first tried this with Tuesday when she was 3.5. I had made really simple cleaners, vinegar & baking soda together and Bj was not a fan. He didn’t think they cleaned that well so we kept getting Method and I kept saving the bottles to fill someday. This is the original recipe (from the now defunct Natural Home Magazine):
All-Purpose Cleaner and Disinfectant
2 cups hot water
1/4 cup white vinegar
1/2 teaspoon washing soda (similar to, but more caustic than, baking soda)
15 drops tea tree essential oil
15 drops lavender essential oil
Combine all ingredients in a reusable spray bottle and shake well. To use, spray on surfaces, especially cutting boards, countertops and toilets. Wipe with a dry cloth.
One thing I don’t do any more is mix in the bottle. I find it much easier to mix in a large measuring bowl and pour it through a funnel into the bottles. One reason is the chemical reaction of the washing soda and vinegar; it makes lots of gas. It’s a little violent so it’s easier (and more fun) to deal with in an open container.

I basically used that same recipe this time, but modified it a bit. I had infused some white vinegar with citrus (after reading this post by NW Edible Life) so I used that instead of plain white. Since the vinegar now has some oil in it not as much essential oils are needed. Tuesday also wanted to try a minty smelling one, so a few of these bottles used peppermint instead of lavender (and not the full 15 drops).

We used Method bottles (and if you know me and you have some extras we’d be happy to take them off your hands and re-fill them with natural cleaner!). They hold about three cups of cleaner, but I wouldn’t fill these to the top. The labels peel off these easily, but leave a residue. I used scraps of vinyl (colored contact paper would also work great, and is readily available) to cover it up. Before peeling off the backing I let Tuesday decorate them (any excuse to use a Sharpie!). I also wrote what was in the bottle.
We gave some of these as gifts and kept a couple. I’d try to use them up in six months or less. We had some hanging around from the first experiment and it had separated a bit. So how do these work? Amazing! We love them. Bj loves them! You can tweak the smells to your liking, so try it!
*SAFETY NOTE* Washing soda is all natural, but it’s not all safe. I would do this as a really closely supervised activity, and keep way out of reach of a kid who might put things in their mouths. When Tuesday was three her bottle just had baking soda in it, to be extra safe. The essential oils are also very potent. We had both doors open and a nice breeze going through the house when we made these.

Celebrating crafts, kids and the everyday through photographs.
-
3 comments on Non toxic cleaner to make with your kids
-
Why do I want to scrapbook. I had to ask myself this as I looked at loads of giant albums and drawers and cupboards full of stickers, paper and embellishments. Is there a point to all of this? Will anyone care about it all?I’m actually starting this entry (or whatever it turns out to be) from our big comfy rocker recliner while Bennie nurses. Well she’s not really nursing. She is, but she’s more sleep nursing. She does this when she gets up from a nap too early and really wants to go back to sleep, but can’t on her own. Tuesday used to sleep nurse a lot, it was her only way of napping… FOR A YEAR.What does that have to do with scrapbooking? Well I’m sitting here nursing and playing with Bennie’s soft baby hair. It’s amazing and I love it. It won’t be like this forever. And really I don’t want it to. I want to love it now, remember it forever, and move on to the next thing that happens. It’s a lot easier to feel this way the second time around. For me parenting only gets better. I’m more confident. My girls get more amazing, because they more fully develop into their lovely selves.I think memory keeping is wonderful. It’s certainly the more in vogue way to talk and think about preserving memories than calling myself out as a scrapbooker. It’s also more encompassing, certainly taking photos, updating a status with a child’s quote, or blogging are all memory keeping; and I support them all. Today I am talking about scrapbooking. Physical books to flip through. Journaling to read. Products to play with. The latter may not mean so much to some. But for me it’s often the hook I need.


I found a pack of Ki Memories paper at Goodwill (unopened) for 99 cents. I was so excited. This was my favorite line back in the day (maybe 2003?). I loved it, I used some and I saved a lot, not wanting to use my special paper. When I found this pack I immediately wanted to sit down and scrapbook. I just felt an itch to tell all these stories. I love doing Project Life, and for sure it’s the favorite of everyone around here to look through. But there is something about just focusing on one picture or set of pictures and one story that I love.
It takes up more space yes, but now that I do Project Life style scrapbooking I don’t feel the need to scrapbook anything else “traditionally” unless it speaks to me and I really want to. I don’t share all my layouts, I’m not looking for praise or publication (A decade ago that was big motivation for me), I just want to sit down with the memories for a while and record them in a fun way.
I don’t think that my girls are going to want all these layouts or albums. Some people get hung up on that. I mean, “What are we scrapbooking for, ” is a huge (and valid) question. Bj and I had to deal with all of Grandpa’s scrapbooks (12 boxes full). We didn’t keep many as they were. Of the actual family scrapbooks we kept ZERO as they were. Oh we loved looking through them and pulled out a few pictures, but most “layouts” were of long ago parties and people we didn’t know and never will know anything about (he was not so great at journaling a story for us to follow). The albums were in the old books which were ruining the photos, so they had to be taken out anyway. We kept a book of his personal military service history, and a set of more genealogical type albums.
I think my girls may want to keep their baby books. I love looking at mine, and it doesn’t take up much space. I hope that I am physically able to look through these books for many, many more years. That really is my favorite part. I feel like maybe I should do a page that talks about the books, what they mean to me, and what I hope they are for my children; something fun, with no guilt if keeping them doesn’t work out.
Maybe technology will make it so that scanning in a whole album will be cake and they’ll just have digital copies, who knows. The point is: I don’t worry about. We enjoy them now. I love making them and that is good enough for me.
And this. My hand writing, my love notes to my girls, my husband, and myself. Records of things we’ve done. It’s all good.
Scrapbooking seems to be out of vogue a bit. There is only one local scrapbook store left here. How do you feel about scrapbooking? Do you think of it as an “old lady” craft? Do you do it? Did you? Did you stop? Why? I’d love to have a conversation about this friends. I updated my blog with some new fancy formatting so that I can respond direction in the comments, so can you, and they’ll be all threaded and pretty. I’m very excited about this, so please, tell me what you think. -
Joining in on Amanda’s this moment project. A moment from the last week. A slice of life.


recent posts
helpful info
archives
2 page layouts 8.5×11 layouts 12×12 layouts Alaska birthday birthday party brads canning Carmen Chloe crew girls dining room DIY elimination communication fair fall food front yard hair Halloween iPhone misting Montessori newborn nighttime night time oregon oregon coast oregon state fair organization painting painting with kids party portland punches ribbon salem Sciarrino scrapbooking sewing on scrapbooking Silhouette sleep toddler Tuesday tulips