I’ve touched on this before, and have been meaning to do a post on Elimination Communication, but when my favorite EC shop sent out a newsletter that this was Diaper Free Week I decided now was the time!

Awe look at cute little Bennie! She just turned three months old in these pictures.
Because of my experience with Tuesday I knew I wanted to try and start EC right at the beginning. And when she was a few days old I got a little bowl and tried to get her to go on it. I tried to sit on the potty with her and go at the same time. I tried lots of newborn EC tricks. And it was not happening for us. At all. Ugh, so frustrating! Wait, I was frustrated that I couldn’t get my week old baby to use the potty? Well… yes. I had read lots of EC stuff, and had friends who were doing EC with newborns no problem. But it was just too much for me, I really didn’t like how floppy she was for one. Also newborns go all the time. Like All. Of. The. Time. So I felt like I was trying way too many times. I backed off.
The first three months are hazy, at best, but I do think I tried her on the potty every once in a while, and when I noticed her going I would cue her (make sounds like peeing/pooping). Then later I’d stick her on the potty and make those same sounds so she would associate it with going and go. I think mostly it was her strength that made it so much easier at three months, and everything just clicked. For sure I had to really support her on the potty, but she was not so tippy. I was surprised a few days after this that we went on a long, long walk and I went to change her and she was dry. We were at a little shop so I took her diaper off, put her on the potty and she went! Yay!
With Tuesday she really liked her potty seat, so much so I carried a travel one with me everywhere. I think because we started so much younger with Bennet she’s a lot more flexible.

Carmen took this of us when we stayed in a hotel in Portland last winter (she’s almost five months). I do have a little potty in my car for out and about.
We are not out of diapers, not even close. In fact I’m sure I change diapers more than most because I always change a diaper as soon as it is wet or dirty. So why EC at all then? I think it is all in the title, it’s all about communication. I feel that I’m honoring her by not making her sit in her urine or poo when ever possible. And yes, I do expect her to be out of diapers by 1.5 like her big sis, and that is a big motivation for me. Even if she were to stay in diapers for years I still feel like I’ve done the right thing for us. And I never plan on “potty training” her. Just making sure she is always aware of what she is doing and letting her know where we go potty (on the toilet).

My friend Angela took some wonderful family pictures for us and I asked her to snap a few when Bennet had to go potty. I know this phase is fleeting but sometimes it feels like I take Bennie to the potty about 20 times a day (and I might!). It can be very frustrating to take a baby you know has to go potty to the toilet, where she won’t go, only to have her pee in a diaper (or on the floor!) five minutes later. But what might be the most important part of EC is that you never shame your child, or blame them. I feel that if Bennet does not go on the potty it is our fault for not getting her there, not hers.
I feel very strongly that babies and young toddlers should be given the opportunity to use the potty. I do not think it damages them in any way. There is a line of thought that forcing a child to use the potty before they are ready will damage them in some way, and I have to say I agree. Forcing a kid to do anything pretty much never ends well. However having an open line of communication with your baby or toddler and helping them use the potty in no way forces them.
I think there are two main reasons parents wait so long to “train” their children: disposable diapers and working outside the home. So obviously this is not for everyone, and I consider myself extraordinarily lucky that I get to stay home with my girls and take my baby to the potty twenty times a day! There are still things you can do if you are not able to do this, or doing want to try EC a little. Here are some of my tips:
-Use cloth diapers. Even part time. I use a fitted cloth diaper that is the absorbent layer, and a cover that is plastic coated so her clothes stay dry. Keeping the cover off whenever possible helps me know exactly when she goes so I can change her as soon as possible.
-Change your baby as soon as they go potty. Teach them that pee and poo go in the toilet, and don’t get them used to sitting in a wet diaper.
-Make going potty a normal thing. Tell them what you are doing on the potty. Tell them when they are going potty if you notice.
-Naked time for babies. We call it baby air out time. Now that Bennet is all over the place this is less, but especially for tiny babies this is easy to do (disclaimer: I have no experience with boys!).
-If you go to change baby and she is dry, why not try the toilet?
-Try the toilet first thing in the morning, and after naps. This is why I rarely change a poopy diaper (yay!).
-Try the toilet after wearing your baby. Bennie will not go unless absolutely necessary when I am wearing or carrying her. So if I’ve had her in the Baby Hawk for a while I know she’ll use the toilet after (or she’ll start arching to let me know she needs to get out and go!).
-Baby hates sitting on a big toilet? Maybe a seat reducer would help (Tuesday loved this one), or a little potty.
-Take accidents in stride. In EC we call those misses, and they are no big deal!
-Never shame a child about missing the toilet.
-Never praise a child for going on the toilet. Going on the toilet is just a normal thing. I say things like, “I bet that felt nice” or “Doesn’t that feel better to poop in the toilet?”
I have to say people are surprised to learn I gave birth at home. But nothing turns heads like taking a three month old to the potty! People think I’m crazy. And you know what? I would have thought that too a few years ago. But now I know it is no big deal. It doesn’t mean your kid can’t/doesn’t wear diapers. It means what ever you want it to mean. For us it meant diaper free by 18 months with Tuesday and super cute XXXS undies. Read more about it and let me know what you think! I’m mostly posting this as a resource for when people ask me what the heck I’m doing. And because I don’t think accurate info is in the mainstream media about this. Maybe you don’t have a kid yet and see this and remember it in a few years. Or your baby fusses and you know they have to go potty, now you know you can try something (the toilet!). I hope I’ve helped someone. And if you still think I’m crazy, well that’s ok too. 🙂

Celebrating crafts, kids and the everyday through photographs.
-
5 comments on Yes, our baby uses a potty
-
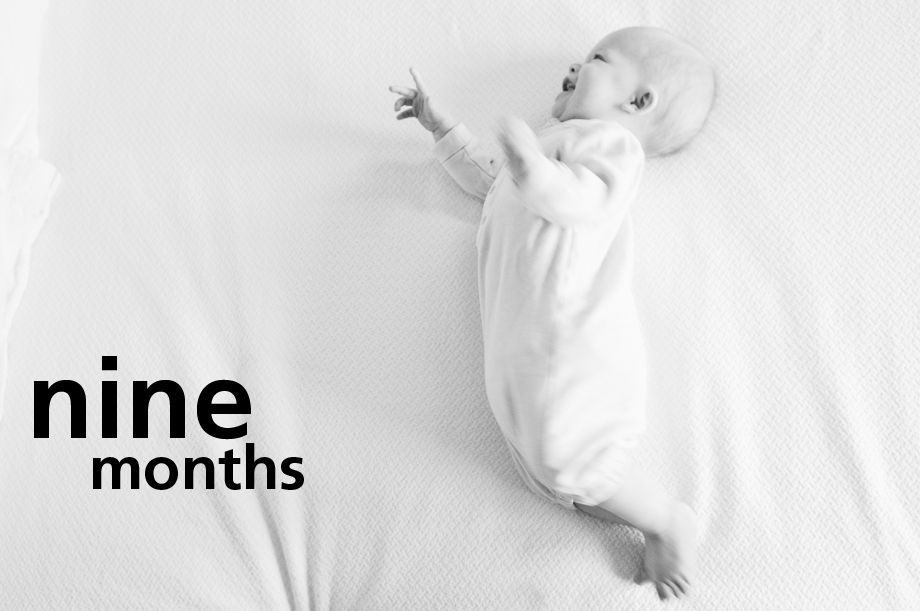
9 months in, 9 months out, it always seems like such a big milestone.
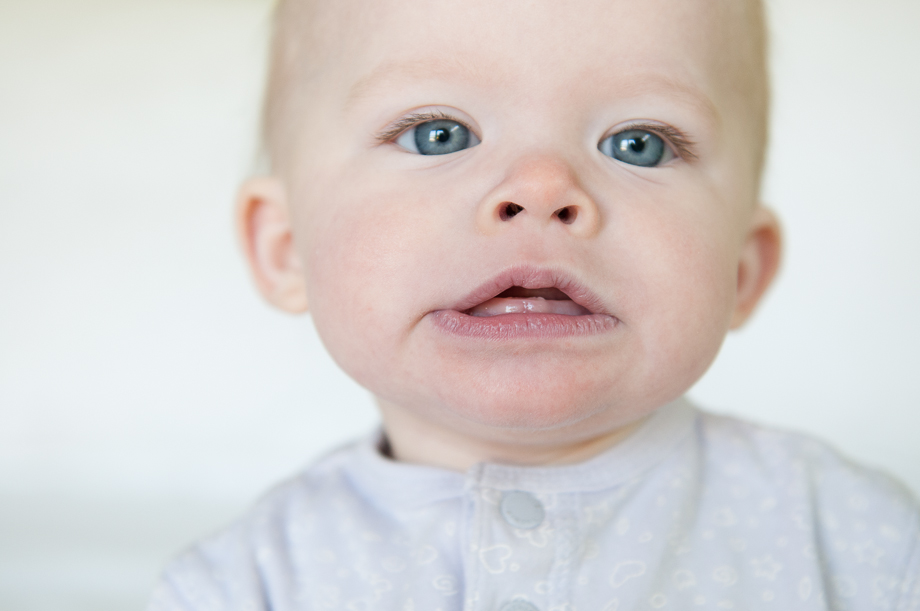
Another big milestone? Teeth! Look what popped through! And we are all much happier for it!
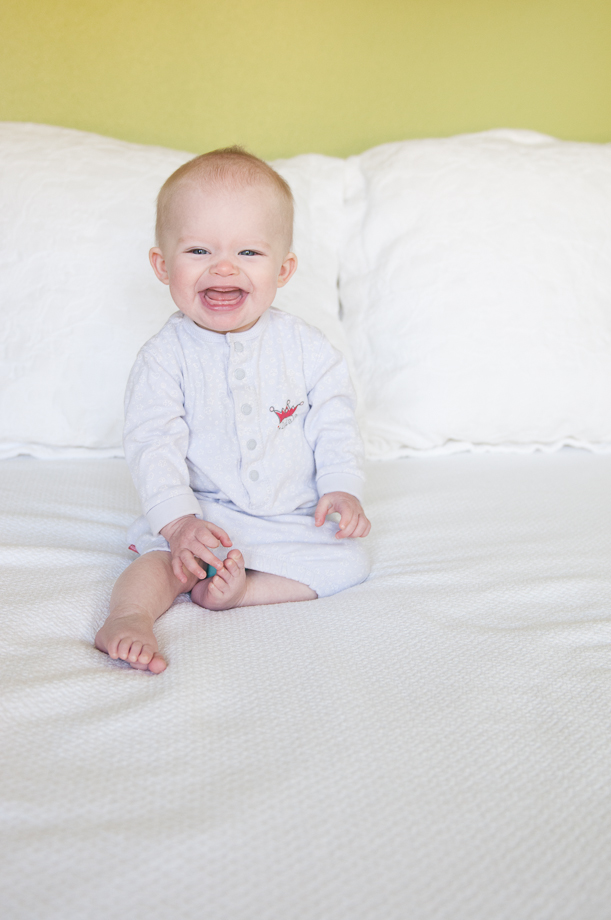
Who am I kidding? She’s pretty much always happy all the time.
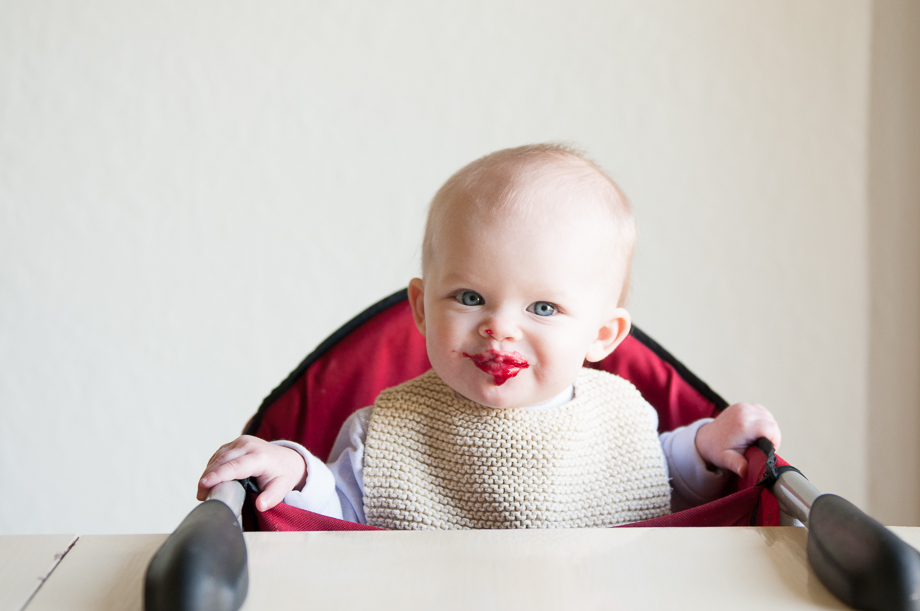
At about 8.5 months we started her on solids. So far avocado, green bean, broccoli, applesauce, banana, carrot, and of course beet. All made by me and Bj. Easy, what ever we’re eating blended (Blendtec for the win. Fine you were right Bj, there I said it.). She likes it all A LOT. If that could be double caps I’d do it because she is a fan of the food. I was giving her solids with dinner, but I switched it to morning because it takes her a long time to process it. And she eats so so much I feel like she was getting too stuffed full before bed.
She started doing this adorable, “ba, ba, ba” thing. We can’t get enough. Bj, Tuesday and I spend half the time she’s awake saying ba, ba or other b words in the hopes she starts back up again. She’s napping most days, sometimes twice. She’s sleeping ok. It’s not great, it’s not terrible. I can’t move her into the girls’ room because Tuesday will wake her up at night. You read that right. We realized on a night away last week when we all spent the night in the same room together that Tuesday is a LOUD sleeper. She woke Bennet up with her dreaming mumbling speech. So not sure what to do about that… for now the crib is in the corner of our room and we don’t hang out in there a lot. I miss reading in bed.
I don’t know her stats, we go in tomorrow. I’m guessing based on the two similarly aged babies we played with today that she’s a 1%er. I’ll come back and update this part.
Basically we’re totally in love with her. But we’re tired and I’m selling the baby stuff. So as soon as she grows out of/stops using stuff I want it gone, gone, gone. Apparently sleep outweighs my desire for more children 🙂
8 months, 7 months, 6 months, 5 months, 4 months, 3 months, 2 months, 1 month. -
Tuesday (age four) has never been that into drawing people. She’s a note girl. So I pretty much am in love with this.

“Girl with backpack”


recent posts
helpful info
archives
2 page layouts 8.5×11 layouts 12×12 layouts Alaska birthday birthday party brads canning Carmen Chloe crew girls dining room DIY elimination communication fair fall food front yard hair Halloween iPhone misting Montessori newborn nighttime night time oregon oregon coast oregon state fair organization painting painting with kids party portland punches ribbon salem Sciarrino scrapbooking sewing on scrapbooking Silhouette sleep toddler Tuesday tulips